We offer private, customized training for 3 or more people at your site or online.
Columns are the basic building blocks of SharePoint and are part of every SharePoint List or Library application. In the image below, the Name, Modified By, and Modified labels are columns. Columns are used to store additional information (such as Department owner) about the document and provides the ability to sort, filter, and group our documents by these column values.

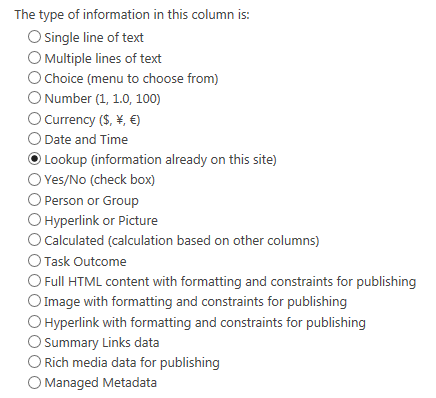
Columns are created using one of the various built-in column types, which are shown below.
In this tutorial, I will teach you how to create a dropdown column of Departments using a Lookup column type. A Lookup column is connected to a SharePoint list for its set of values. If a new department is added to the Departments list, the values in the connected lookup column are updated automatically. Using this approach provides SharePoint users with a consistent and relevant set of values.
IMPORTANT: To perform the steps in this article, you will need to be an administrator on the site that you are working on. This article also assumes that you are familiar with uploading a new file to a document library.
Go ahead and navigate to the site that in which you will be working in. I'm going to be using my Training site. There are three steps to creating and using the Departments column. They are:
- Create the Departments List
- Create the Departments lookup column
- Add the Departments column to Shared Document library
Creating the Departments List
Use the steps below to create the Departments list. This will be a very simple list and will have a single column, Title, which will be used to store our department names.
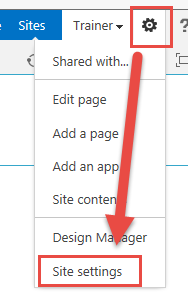
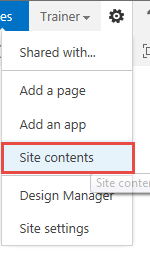
On the site, click the "gear" icon in the upper-right corner to reveal the Site Actions menu, highlighted in the red box in the image below:

From the menu, click Add an App.
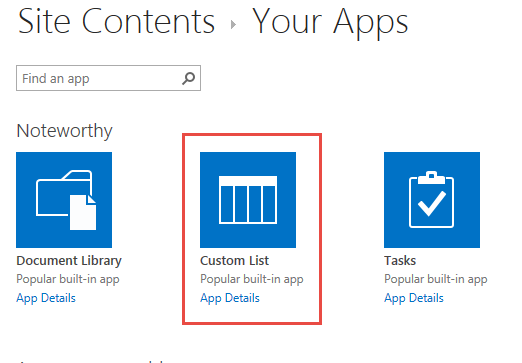
On the Site Contents screen, select Custom List from the list of available apps.
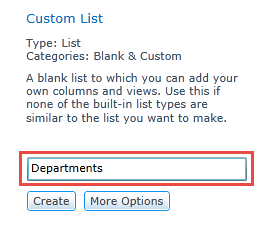
On the Create App page, type Departments in the list name field, then click the Create button.
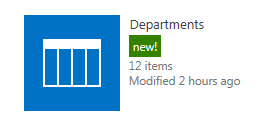
Your list should be created successfully and appear in the list of available apps.
Now we need to add department values to our new Departments list. Open the Departments list by clicking on the icon. On the Departments list page, click the List tab, then select Quick Edit on the left side of the ribbon.
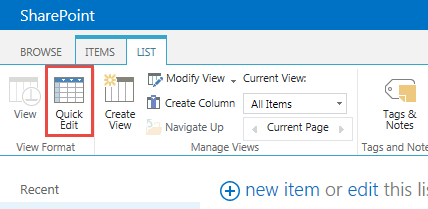
Quick Edit mode provides you with an Excel-like interface to quickly add values into the list. Click in the first box under the Title and add your department values.
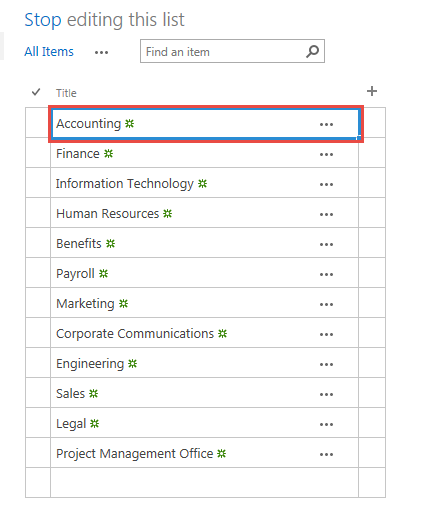
I added the following values to the Departments list:
- Accounting
- Finance
- Information Technology
- Human Resources
- Benefits
- Payroll
- Marketing
- Corporate Communications
- Engineering
- Sales
- Legal
- Project Management Office
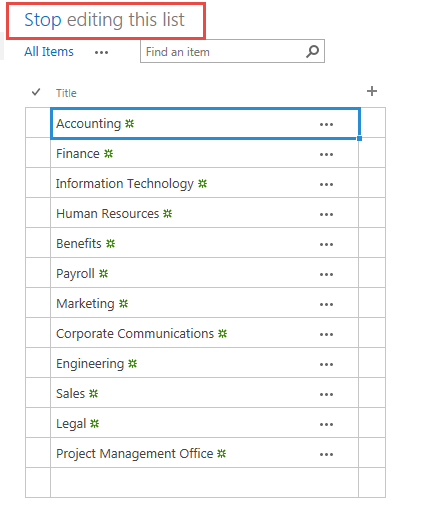
Go ahead and add the values above to your Departments list. When complete, click the Stop editing this list link right above the list view/search box. The Stop editing link is shown below, boxed in red.
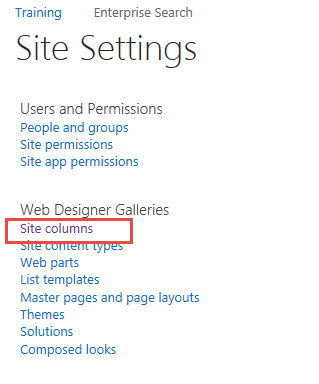
Now that the Departments list is created and you finished adding values, we are ready to create the Departments lookup type column. Go ahead and click the gear in the upper right corner of the SharePoint window and select Site Settings.
On the Site Settings page, click the Site Columns link, which is located on the left column, under the Web Designer Galleries heading
Click the Create button in the upper left. This will open the Create Column page.

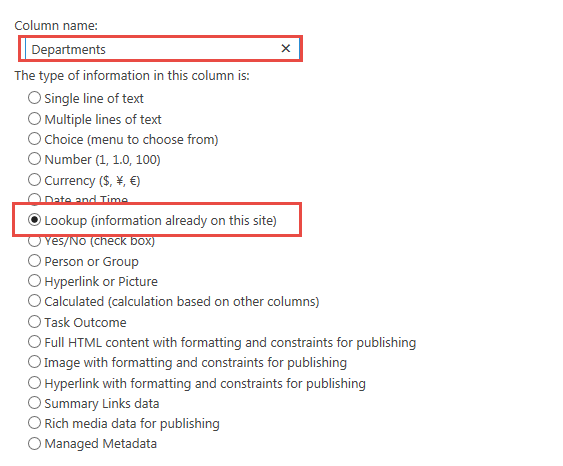
Type Departments in the Column name box and select Lookup (information already on this site) for the Type of Information in this column selection.
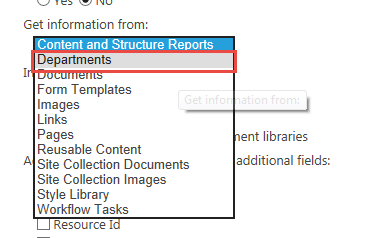
Scroll down the page to the Addition Column Settings section. In the Get Information from: dropdown, click the arrow and select Departments
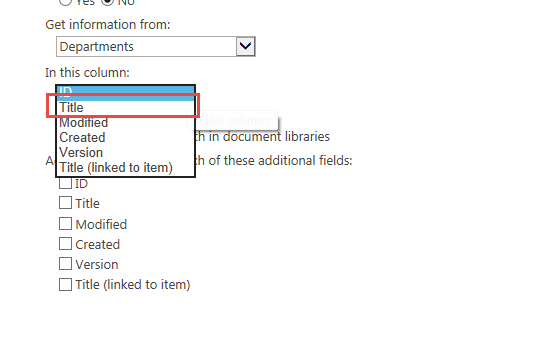
Now choose Title from the In this column: dropdown and click the OK button.
We have now successfully created the Departments column and are ready to put it to use in our Shared Documents library app. Click the Gear in the upper-right corner again and choose Site Contents from the menu.
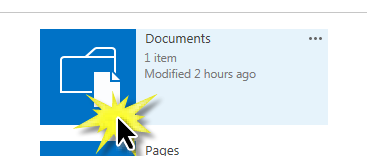
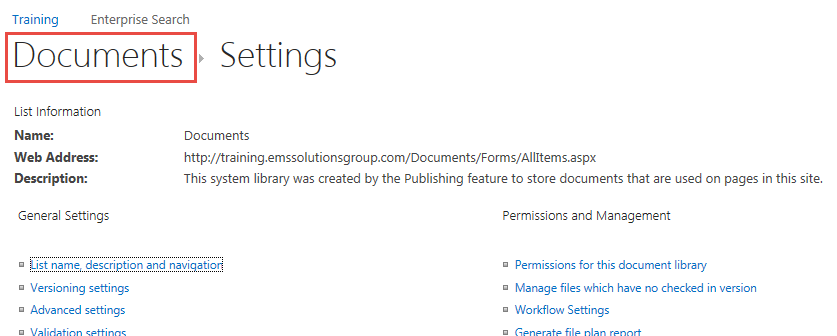
On the Site Contents page, click the Documents app
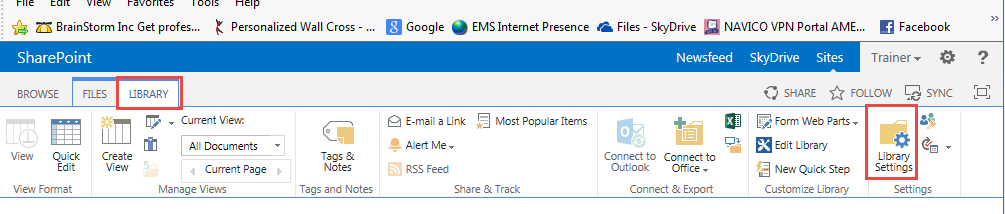
On the Documents page, click the Library tab and then click Library Settings on the right side of the ribbon.
On the Library Settings page, scroll down to the Columns section and click Add from Existing Columns

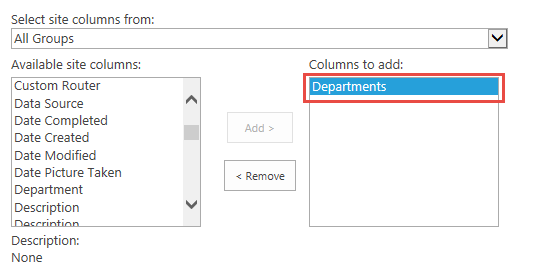
On the left side of the column picker, scroll down the list until you find Departments in the Available site columns list, Click on Departments and then click the Add button
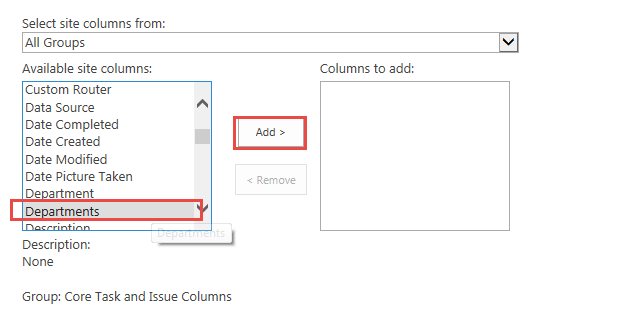
The Departments column will be added to the "Columns to Add:" list. Click OK to add this column to our Documents library.
Click the Documents breadcrumb link to return back to our Documents library.
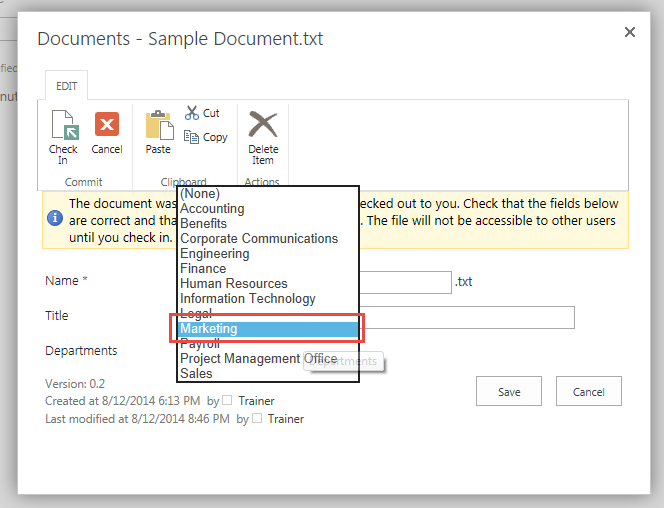
Upload a file to the document library. When you upload a single file, the properties dialog appears providing you the opportunity to tag the document with a department. I chose Marketing and clicked Save.
You can now see the tagged Marketing document in the document list.

Go ahead and experiment. Add a new department to the Departments list, upload a new document to the document library and choose the new Department value in the Departments dropdown. Lookup columns are a terrific way to tag your documents with consistent metadata values.
Author: Eric Stepek, one of Accelebrate’s SharePoint instructors
Next: Projecting Additional Columns in SharePoint
In-Depth SharePoint Training
For in-depth SharePoint training, click here to view all of Accelebrate's SharePoint training courses for you and your staff.
Request Pricing
|

