We offer private, customized training for 3 or more people at your site or online.
In previous tutorials I showed you how to create a Departments list and custom lookup column that uses the Departments list as its data source for the dropdown values. In the first article, I mentioned I was going to show you how to create an InfoPath form to allow users to submit their time and then use a workflow to validate and approve the time submission. In this tutorial, I will illustrate how to create a content type that will be used to store data for the Timesheet InfoPath form.
A Content Type is a SharePoint object that contains columns that are used to describe a specific piece of content, such as a Timesheet entry. Out of the box content types include Document, Item, Event and Contact, for example. Content types can be created at various levels within a SharePoint site hierarchy including the Site Collection and Site level. The higher up the hierarchy the content type resides, the broader the scope in which it can be used. Since content types are objects, workflows can check for specific content types or create a workflow for a specific content type.
Our Timesheet content type is going to have the following columns:
- Employee Name (people lookup type)
- Weekending Date (Date/time type for Date only)
- Department (this will be our Department lookup column we created in a previous tutorial)
- Hours worked (number field with two decimal places type)
- Notes (multiple lines of plain-text type)
I will show you how to create the Notes column. After that, to avoid repetitive steps, I will give you a table of values for the remaining columns and let you create them using the steps for the Notes field.
You will need to navigate to the same location where the departments column was created, which should be the root of your site collection. My departments list and custom column are at the root of my training site.
Creating Timesheet Content Type
Here are the steps to create the Timesheet content type and the Notes column:
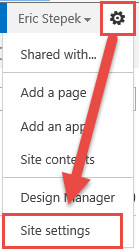
- Click the Settings gear
 in the upper right corner and choose Site Settings from the dropdown.
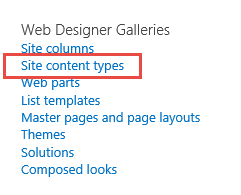
- On the Site Settings page, select Site Content Types under the Web Designer Galleries heading.
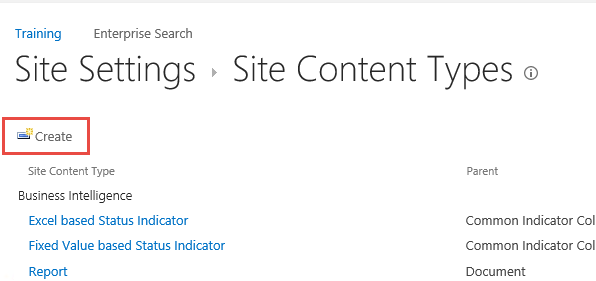
- On the Site Content Types page, click the Create button to open the New Content Type page.
- Complete the New Site Content Type page using the values in the screen below and click OK when you are done.

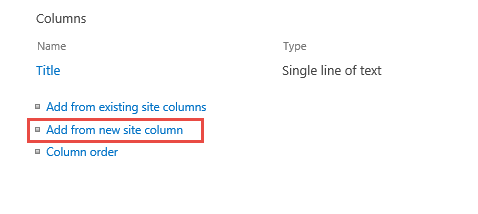
- The TimeSheet Site Content Type page is where you will add the columns needed for this content type. To add a new Column, click the Add from new site column link.
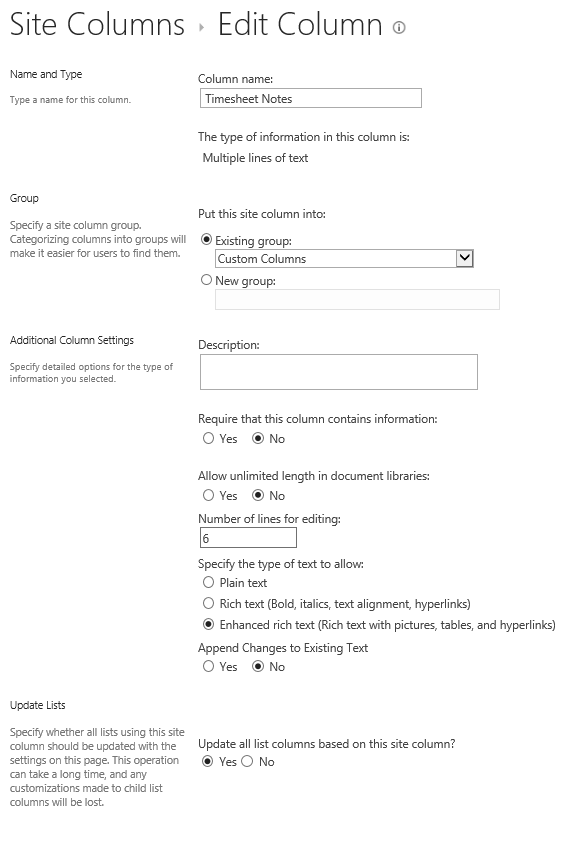
- On the Create Column page, type Timesheet
Notes for the column name and choose Multiple Lines of Text asthe column type.
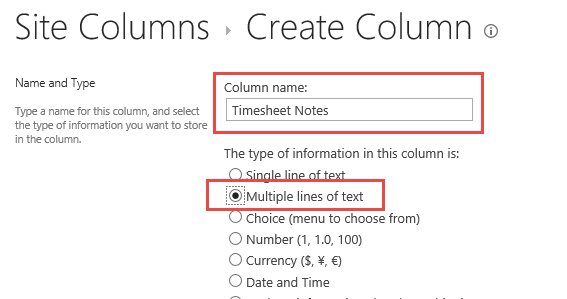
- Accept the rest of the settings for this column
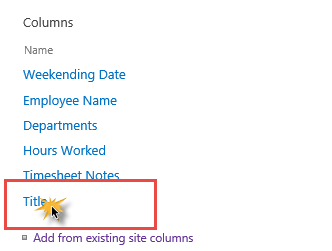
and click OK at the bottom of the page. You will see the new column in the columns list as shown below.

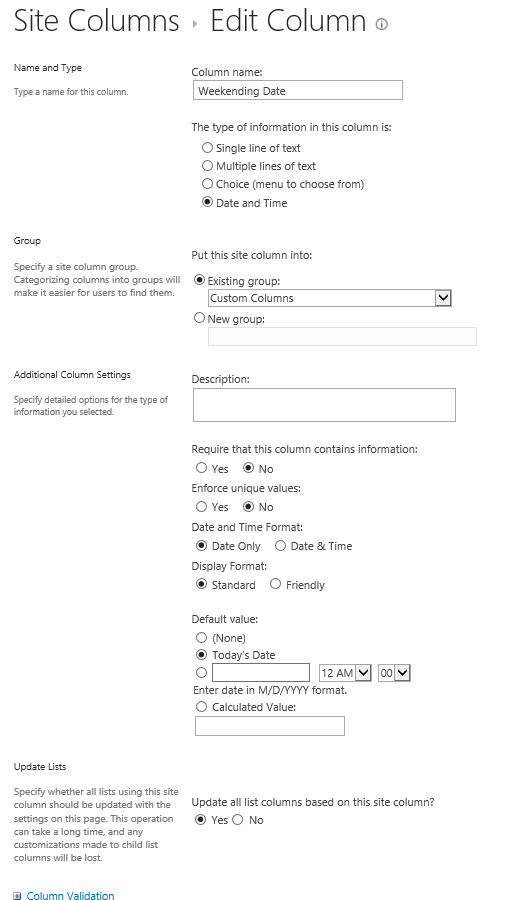
- Below is a list of columns that need to be created and the settings for each one. Create the remaining columns using the previous three steps. I will include screen shots for each column's settings at the end of the article for your reference.
| Column Name |
Weekending Date |
| Type of Column |
Date and Time |
| Date and Time Format |
Date Only |
| Date Format |
Standard |
| Default Value |
Today's Date |
| Column Name |
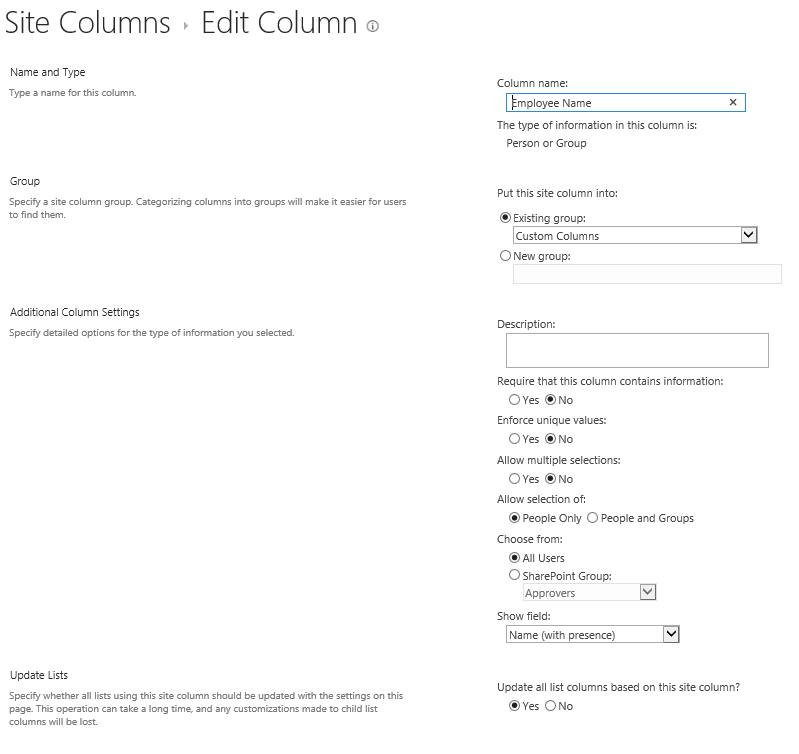
Employee Name |
| Type of Column |
Person or Group |
| Enforce Unique Values |
No |
| Allow Multiple Selections |
No |
| Allow Selection Of |
People Only |
| Choose From |
All Users |
| Show Field |
Name (with Presence) |
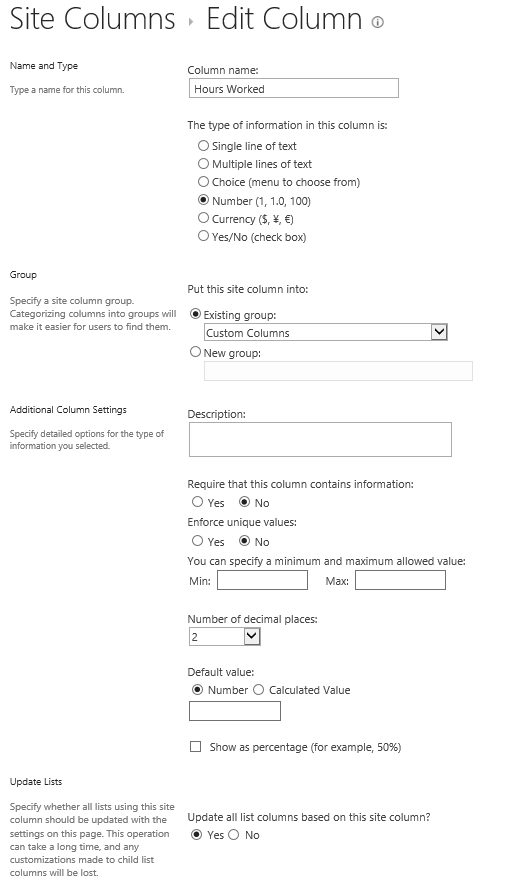
| Column Name |
Hours Worked |
| Type of Column |
Number |
| Number of Decimal Places |
2 |
| Default Value |
Number |
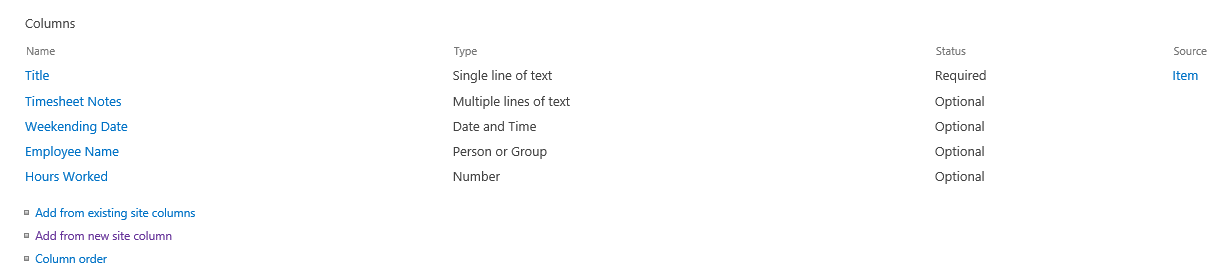
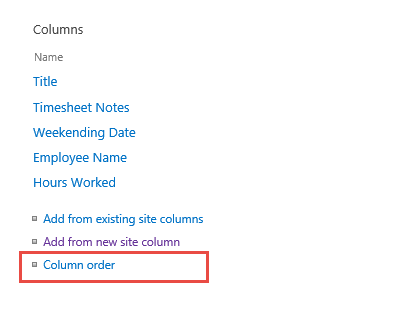
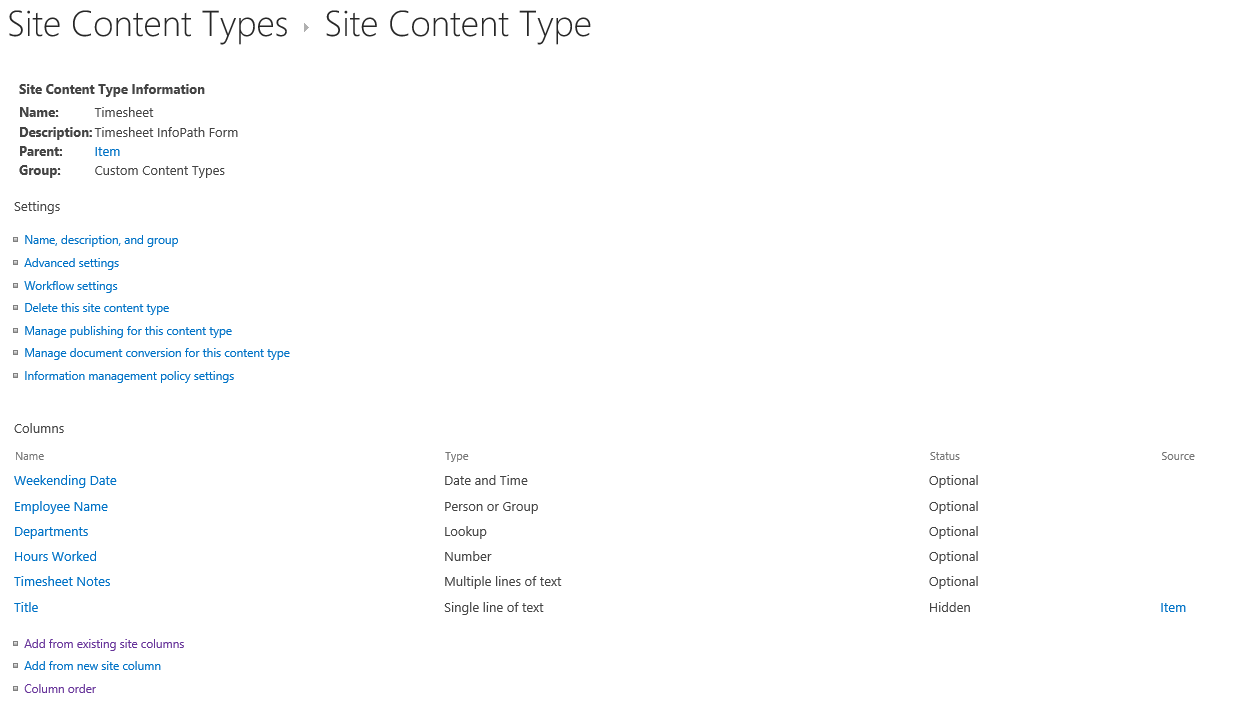
Here are the list of columns that you should have after you complete this step.
- Now that you completed creating the Weekending Date, Employee Name and Hours Worked columns, it's time to add the Departments column that we created a previous article. Instead of creating this column, we are going to add it to our content type.
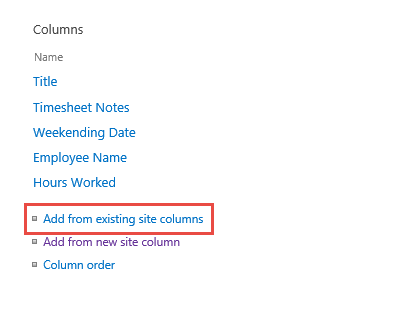
- Click the Add
from existing site columns link on the Content Type page.
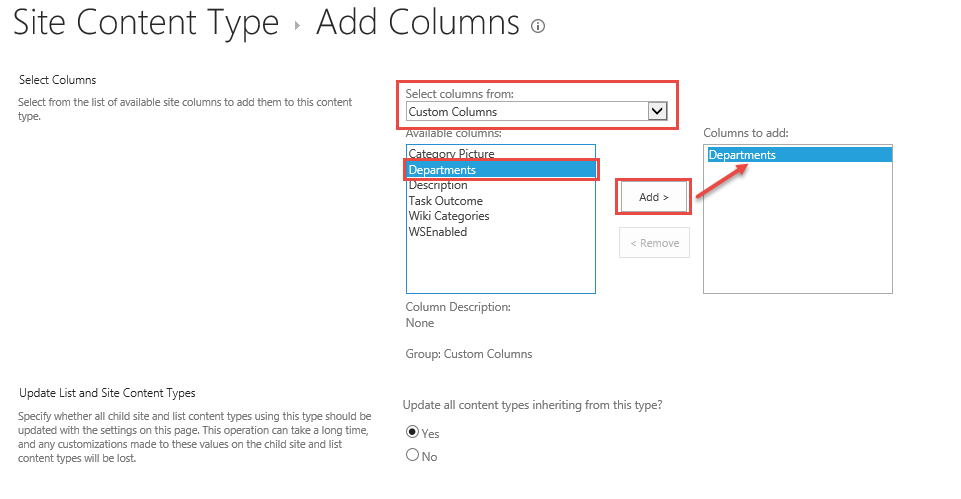
- On the Add Columns page, choose Custom Columns from the Select columns from: dropdown. Click Departments in the Available columns box and click the Add> button. Click OK to add the column.
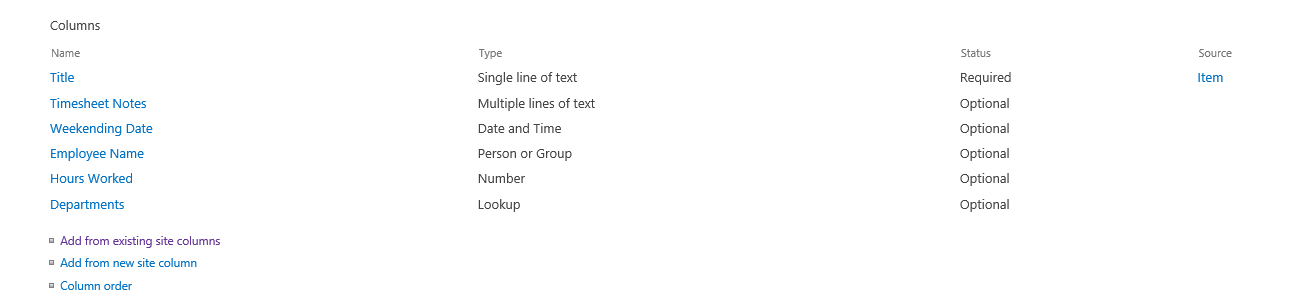
- Here is the complete list of columns in our Timesheet content type
Organizing Fields
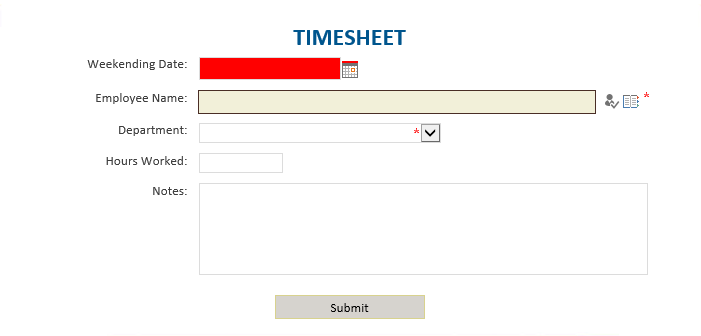
Let's organize the fields in the order that they will appear in our timesheet. Below is a sneak peek at the form we will build in future articles. As you can see, the columns are not in the correct order.
- Click the Column order link right under the
Add from new site column link.
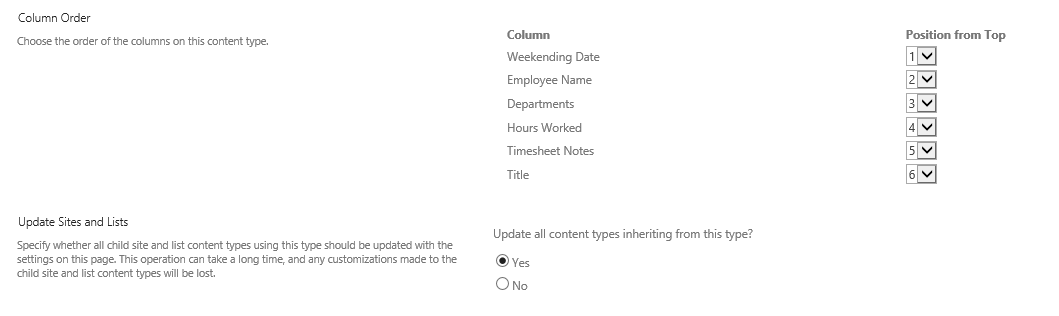
- Order the columns like the screen below by changing the values in the dropdowns next to each column. Click OK when done.
- The last change we need to make is to the Title
field. In the InfoPath form, we will dynamically build the title with
information from the form, but we need to change it from being REQUIRED to
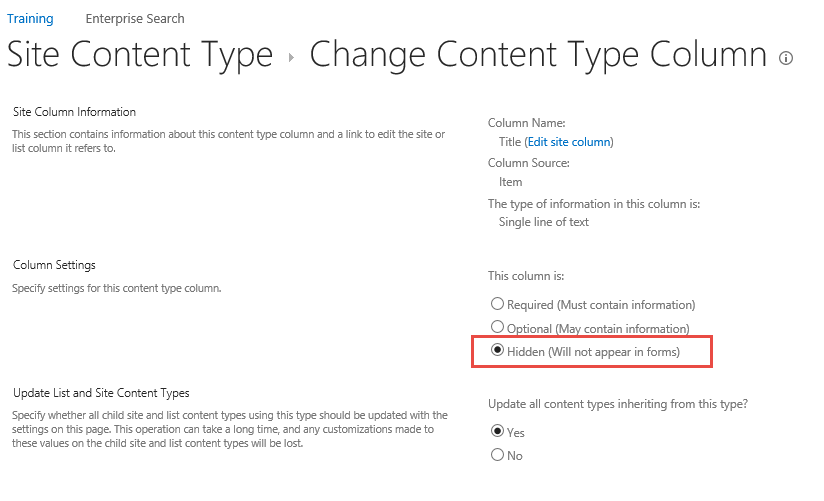
being HIDDEN so that it will not appear in the forms. Click on the Title caption.
- In the Column Settings section, select Hidden
(will not appear in forms) and click OK.
That it! You've created the Timesheet content type.
Here are the screenshots of the columns you created in this article for your reference:
Happy SharePoint-ing!
Author: Eric Stepek, one of Accelebrate’s SharePoint instructors
Previous: Projecting Additional Columns from the Department List
Next: Creating a Content Type for the Timesheet InfoPath Form
In-Depth SharePoint Training
For in-depth SharePoint training, click here to view all of Accelebrate's SharePoint training courses for you and your staff.
Request Pricing
|

